Understand the User Intent: The Power of Machine Learning
Teneo offers a wide range of Match requirements to add to your trigger. One of them is the Machine Learning-based Class. We know from the previous page, Your First Flow, how to generate a Class while working on a flow. This chapter will be about maintaining these classes.
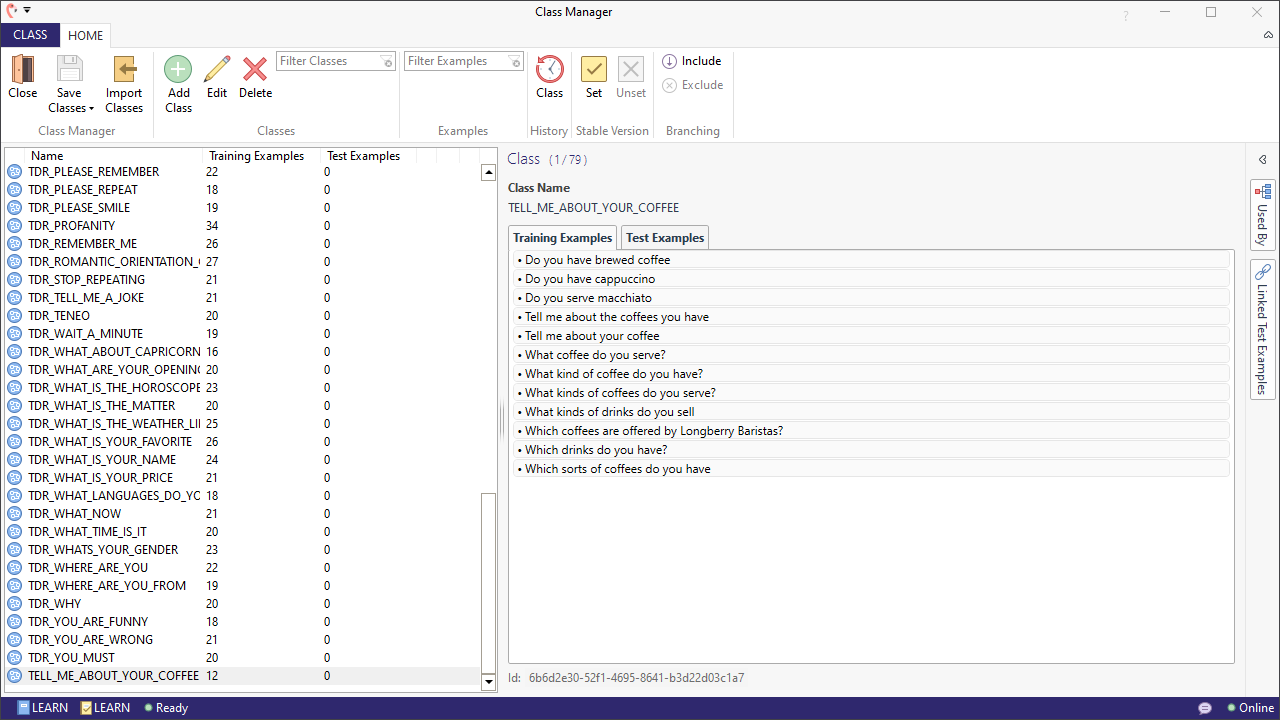
Located in the ribbon bar is the 'Class Manager'. Clicking it will open the Class Manager in a new window that looks like this:

The left section of the Class Manager is a list of the classes inside the solution. Selecting one will let the user see the training and test examples. To the left of that, the user can also see which flows the class is being 'Used by' and which test examples can be found in those flows.
Add a training example
If we select the 'TELL_ME_ABOUT_YOUR_COFFEE' class, we can see that the solution doesn't have training data for the coffee type 'Cortado', even though it is a popular coffee type.
If we want to add this coffee type inside the Class we'll need to do the following.
- Open the 'Class Manager' and select 'TELL_ME_ABOUT_YOUR_COFFEE' class.
- Click on 'Edit' in the ribbon bar and add the training data
Do you serve Cortado. - Hit 'Save'.
Now you'll see the before and after we added training data for the coffee type 'Cortado'.
Add a test example
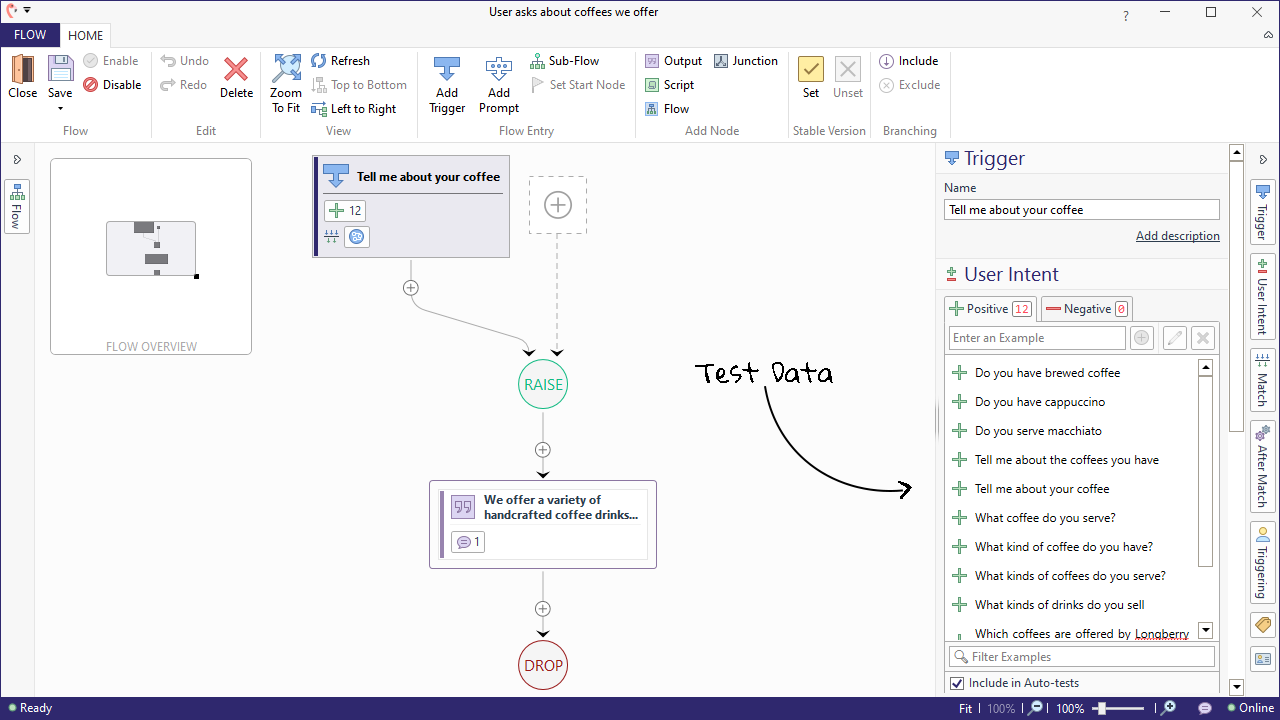
It is important to note that training examples can only be added from the Class Manager page once the Class has been created. It is not possible to add training examples from the flow editor page. This will only add 'Test Data' that will be used when testing your bot and not 'Training Data'.

Test data can also be viewed and added in the Class Manager itself. Let's try that now.
- Open the 'Class Manager' and select the 'TELL_ME_ABOUT_YOUR_COFFEE' class.
- Click on 'Edit' in the ribbon bar and click on the 'Test Examples' tab.
- Add the test data
Do you serve espresso?. - Hit 'Save'.
Generate examples
Teneo's copilot features allow you to quickly generate new training and test examples with the help of Generative AI. These can be generated based on existing examples or based on the class description.
Training examples
Let's generate some training examples based on existing examples.
- Open the Class Manager and select the 'TELL_ME_ABOUT_YOUR_COFFEE' class.
- Click on 'Edit', followed by the 'Generate' button.
- Select whether you want to generate examples based on existing examples or based on the description, and how many examples you'd like to generate.
- Click on 'Generate' when ready to generate.
The new examples are displayed in a preview window where you can review them first. If you are happy with the examples, you add them by clicking 'Apply'. Then they are added to the list of examples with a yellow highlighting line to distinguish them from previously existing examples.
Test examples
Just like training examples, test examples can be generated either based on existing examples or a description. Let's try the latter approach this time.
- While still in Edit mode, switch to the Test examples tab.
- Click on the Generate button and select the option to generate based on a description.
- Enter a description, such as
The user asks questions about which types of coffee you serve. - Click on 'Generate' when ready to generate.
Just as before, the newly generated examples are displayed in the preview window where you can review them first. Click 'Apply' to add them to the list of examples. The new examples will be marked with a yellow highlighting.